Customize a production report's layout and branding
How to customize report headers, page layout, and branding
The Misc Info / Settings tab is where a production report gets your look: company logo, paper size, table spacing, footer, and signature blocks.
Open the day's report from your schedule and select the Misc Info / Settings tab, the cog icon at the far right.
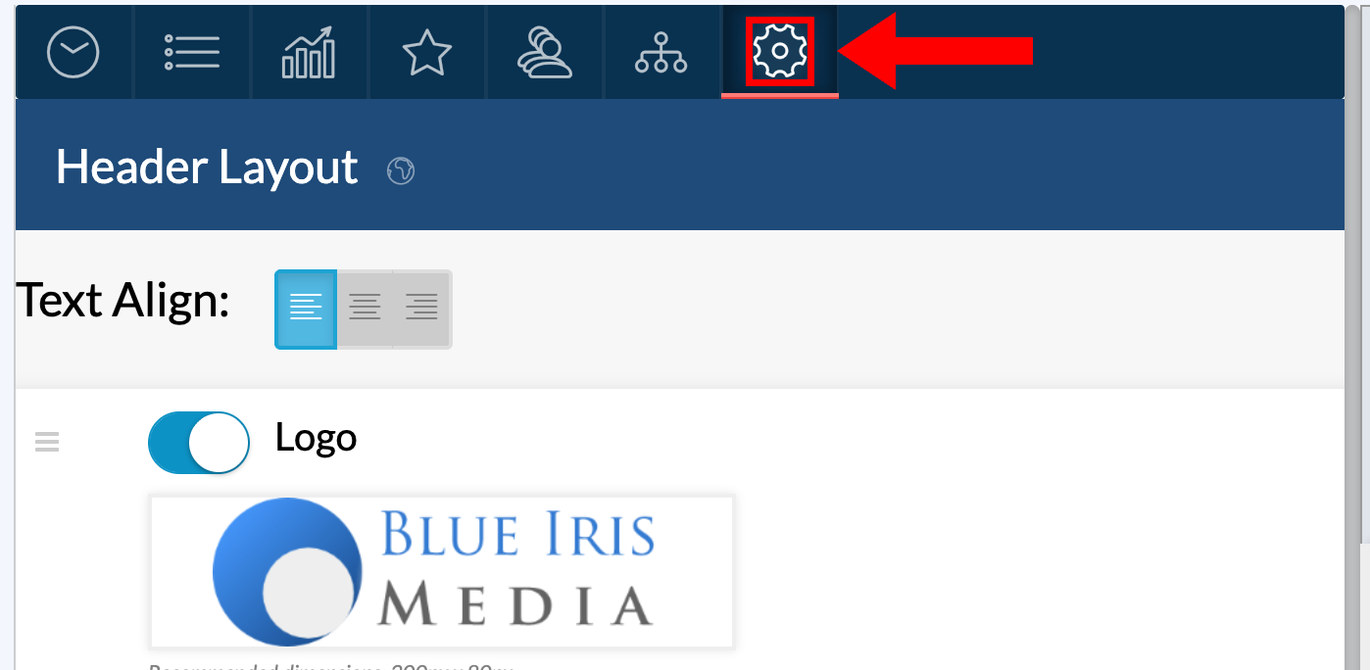
Project-wide vs. report-only settings
Some controls here change every call sheet and production report in the project. Others change only the report you have open. Look for the small globe icon beside a heading.
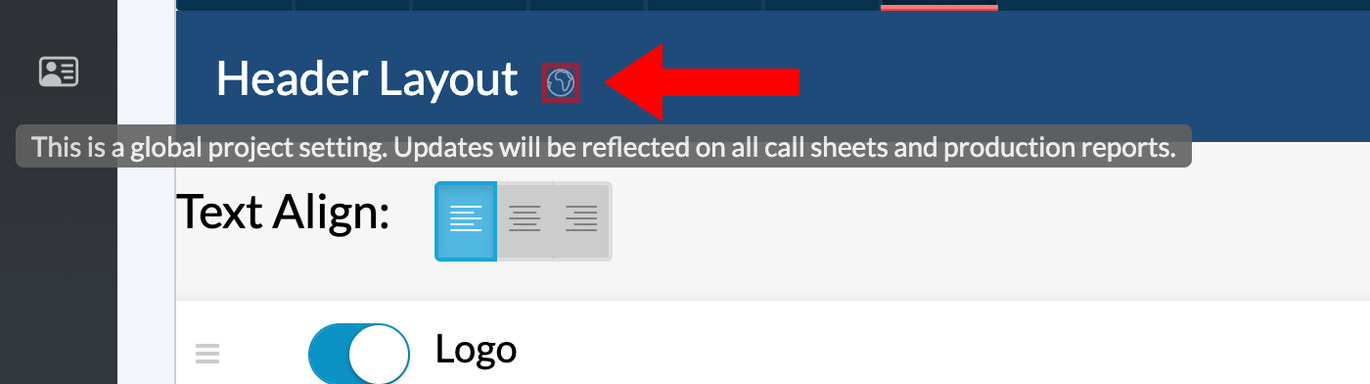
- Globe icon, project-wide: Header Layout and Footer Design.
- No globe, this report only: everything under Page Settings, such as paper size and table spacing.
Header layout and logo
In Header Layout:
- Click the Left, Center, or Right icons to align the header text.
- Drag the handle beside Production Title, Company Name, or Logo to reorder them.
- Switch Logo on and click the image frame to upload a transparent PNG or JPG. SetHero recommends
300px x 80px. - Use Logo Scale to set the width, from 30px to 400px, and Logo Align to choose New Line, Float Left, or Float Right.
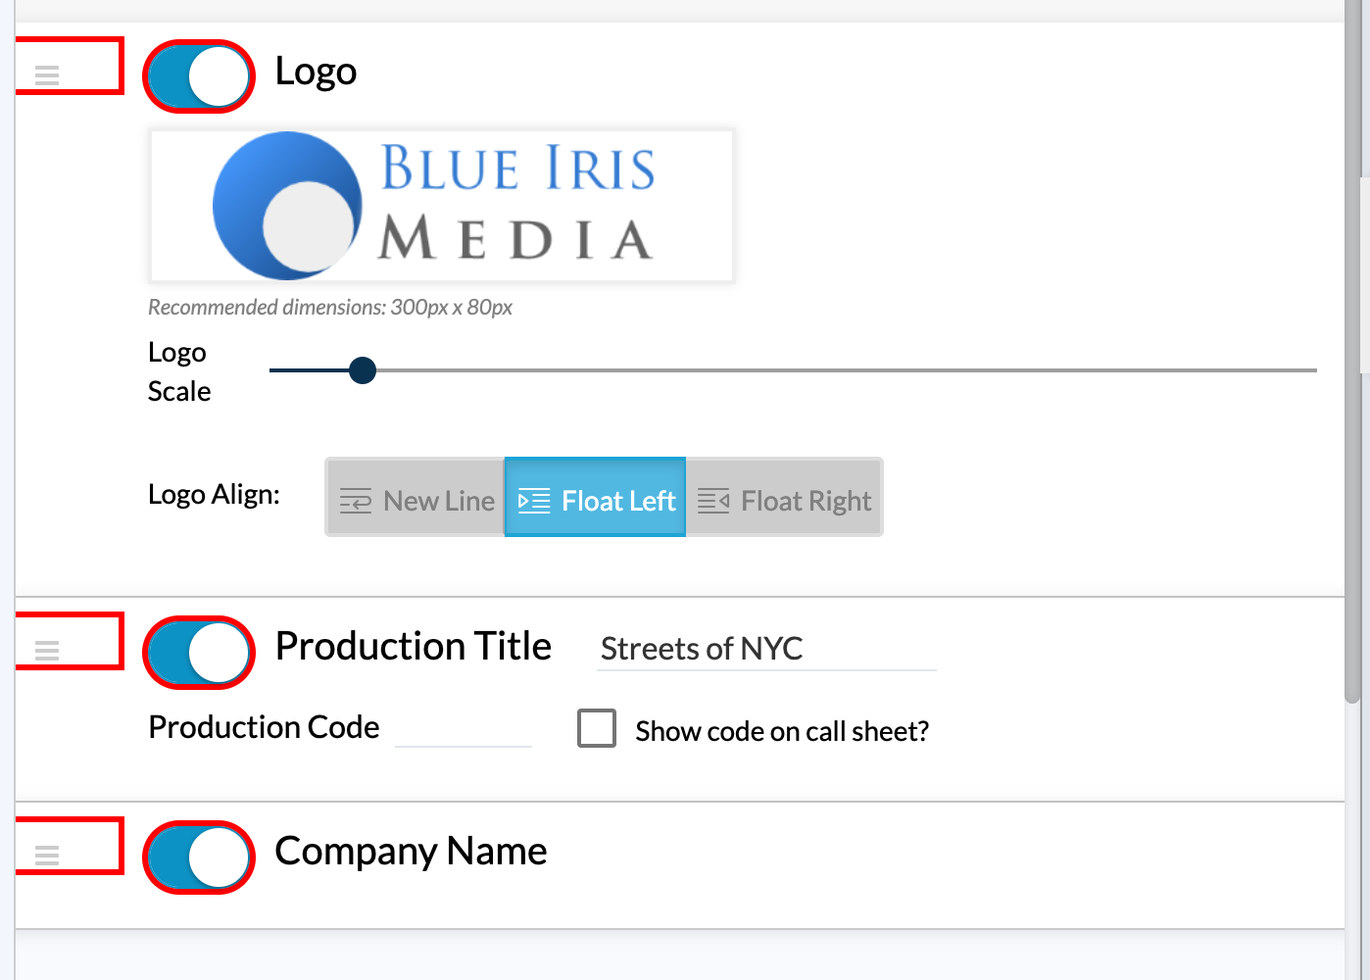
Expand the Production Title row to edit the project title and production code directly.

Note: Uploading a custom header logo requires the Custom Branding add-on. See Subscription plans explained.
Paper size and table spacing
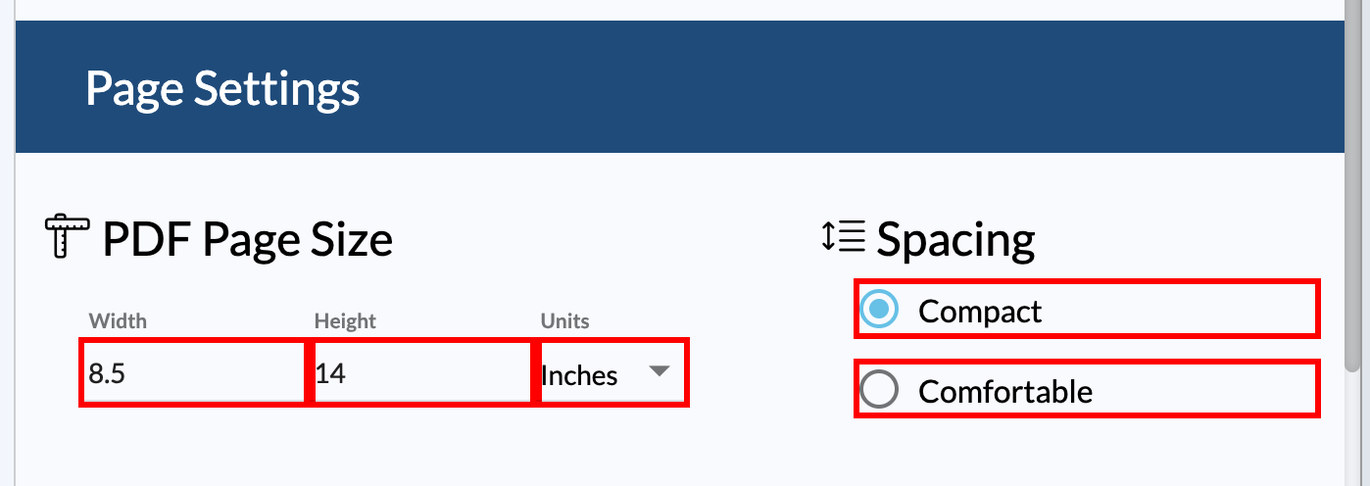
Enter the page Width, Height, and Units:
- US Letter:
8.5by11inches (the default). - US Legal:
8.5by14inches. - A4:
21by29.7centimeters.
Tip: A long report with large cast and crew logs often fits better on US Legal.
For table spacing, Comfortable is standard padding and Compact tightens the rows to fit more on a page.
Footer branding
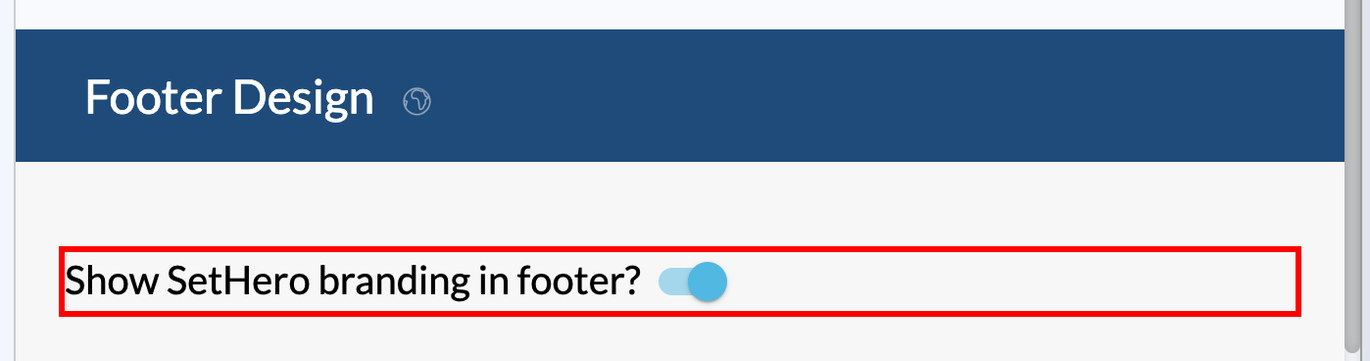
In Footer Design, switch Show SetHero branding in footer? off to remove the SetHero line from your PDFs. This also requires the Custom Branding add-on.
Signature blocks
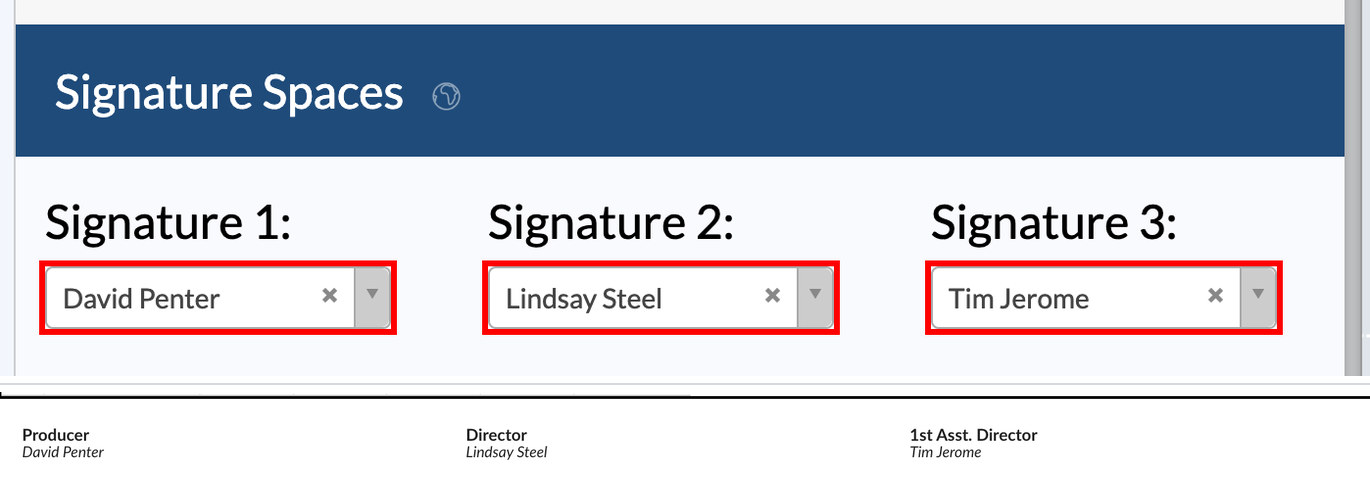
Signature Spaces adds up to three signature lines at the bottom of page 1. Pick a crew member for Signature 1, 2, and 3, such as the UPM, director, or 1st AD. Their position and name print under a signature line. Click the ✕ beside a dropdown to remove one.
Everything saves automatically, and the Live preview shows the updated layout.