Schedule page overview
Where the Schedule page is, what it shows, and how to add, publish, copy, or delete a call sheet from it
Every call sheet and production report starts from a row on the Schedule page. It lists your shoot days in order, shows the breaks between them, and tells you which days already have a document. This is a tour of the page once days exist, with links to the full steps for each task.
How to get there
From inside a project, select Call Sheets in the top header. It opens the schedule you last used, usually Main Schedule.
If the schedule is still empty, you'll see First Shooting Day, Last Shooting Day, and Create Days instead of a list. That setup is Set up shooting days from an empty schedule.
The schedule selector
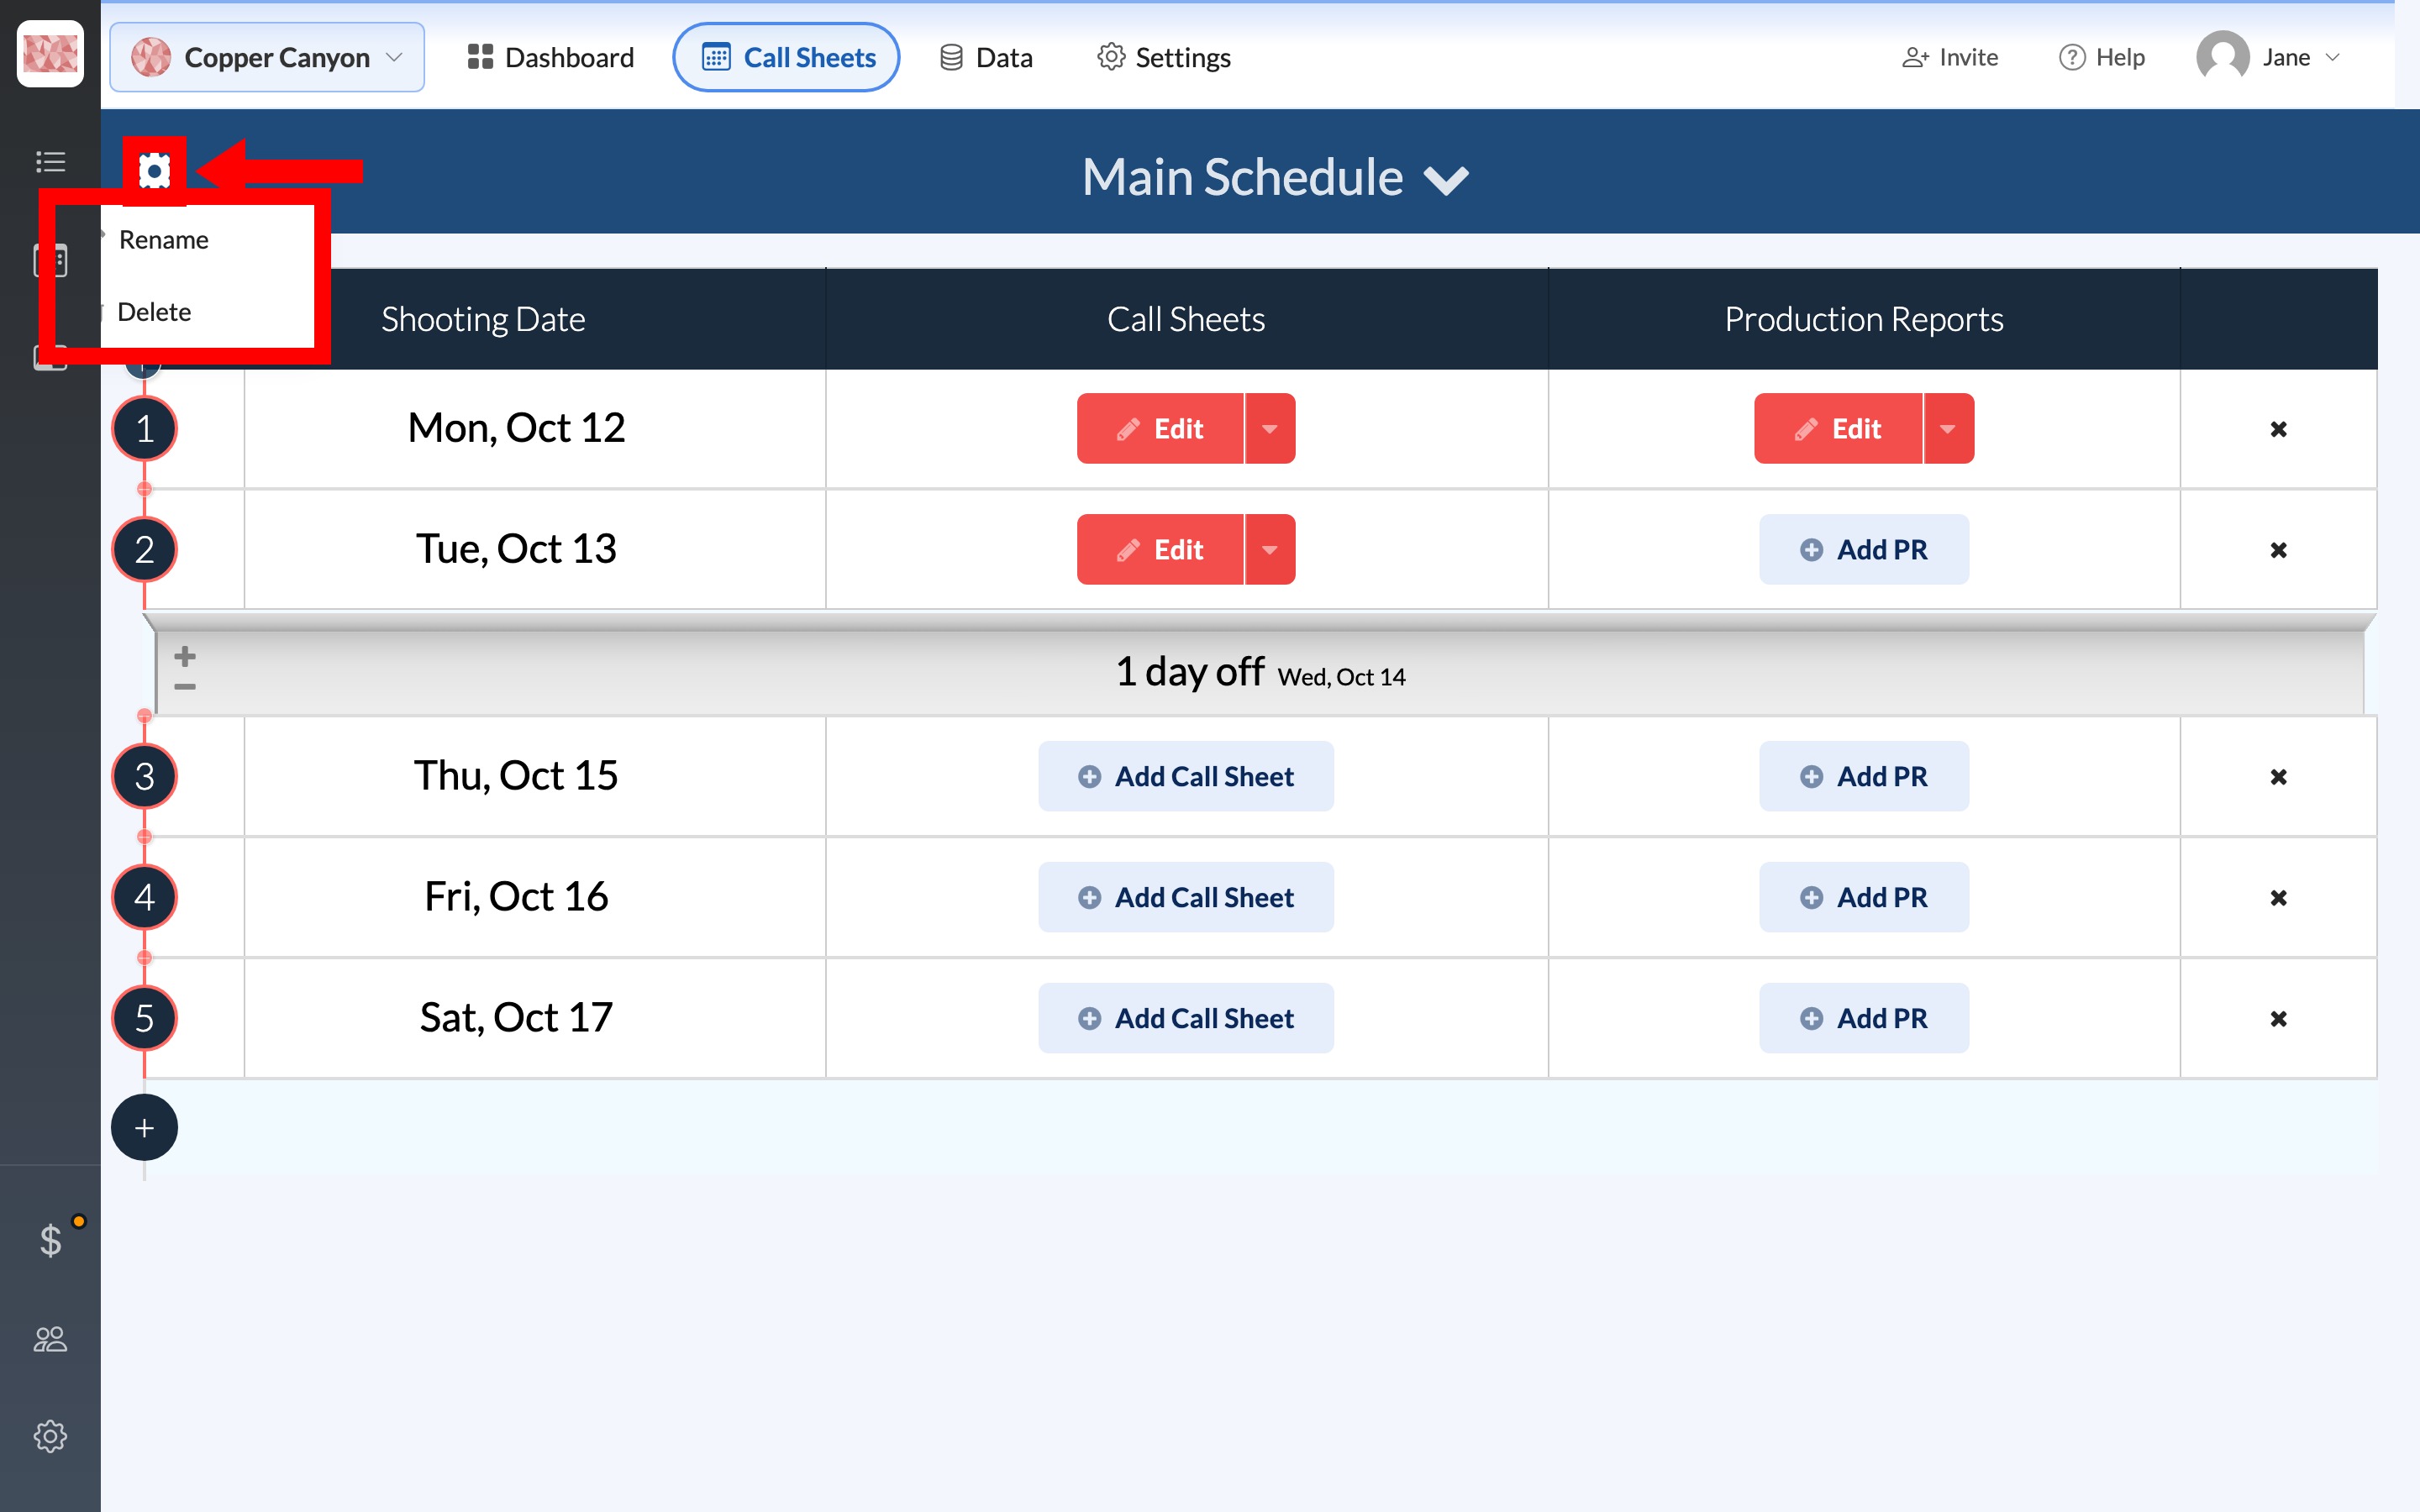
The schedule name sits at the top of the page with a gear to its left. Most productions keep a single Main Schedule, but the name tells you which container you're in when there are several.
Click the name to switch schedules or choose New Schedule for a second unit or a reshoot block. Create, rename, or delete schedules covers those steps.
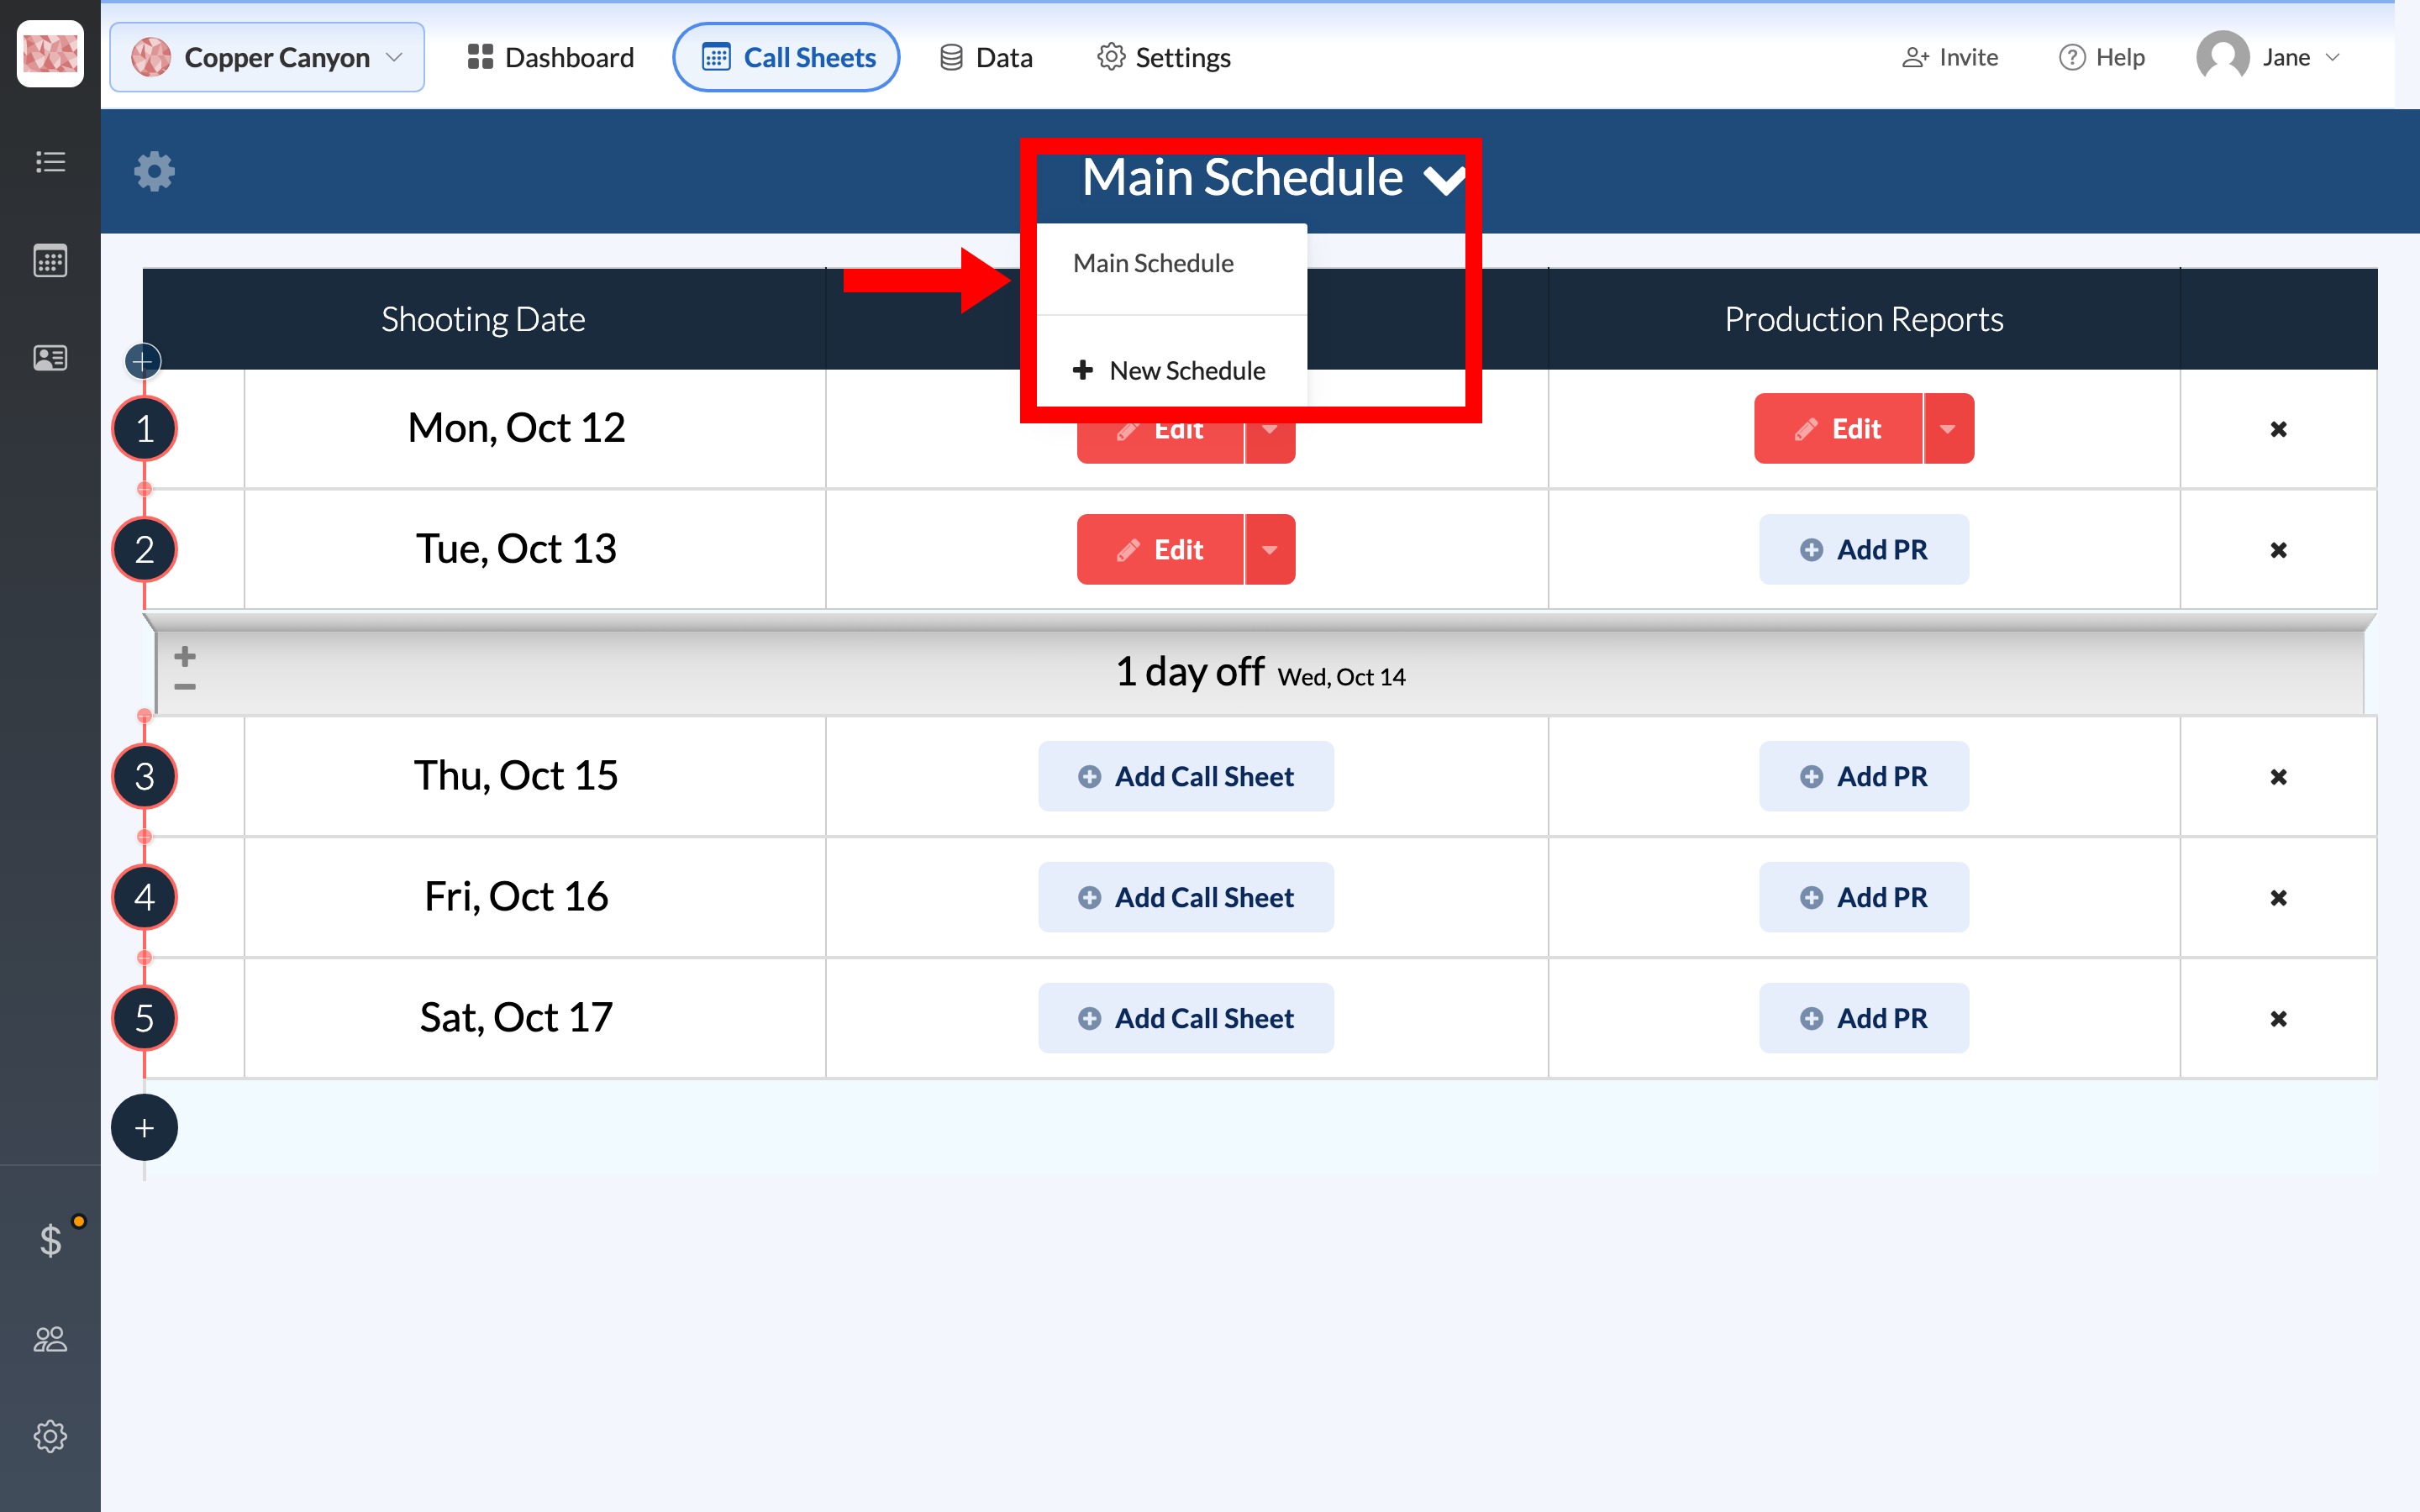
Note: The gear menu's Rename and Delete apply to the whole schedule, not just one day. Deleting it removes every shoot day and call sheet in that schedule.
Two icons in the top-right corner switch between List View, the numbered table this article describes, and Calendar View, which puts the same days on a month grid.
Reading a day row
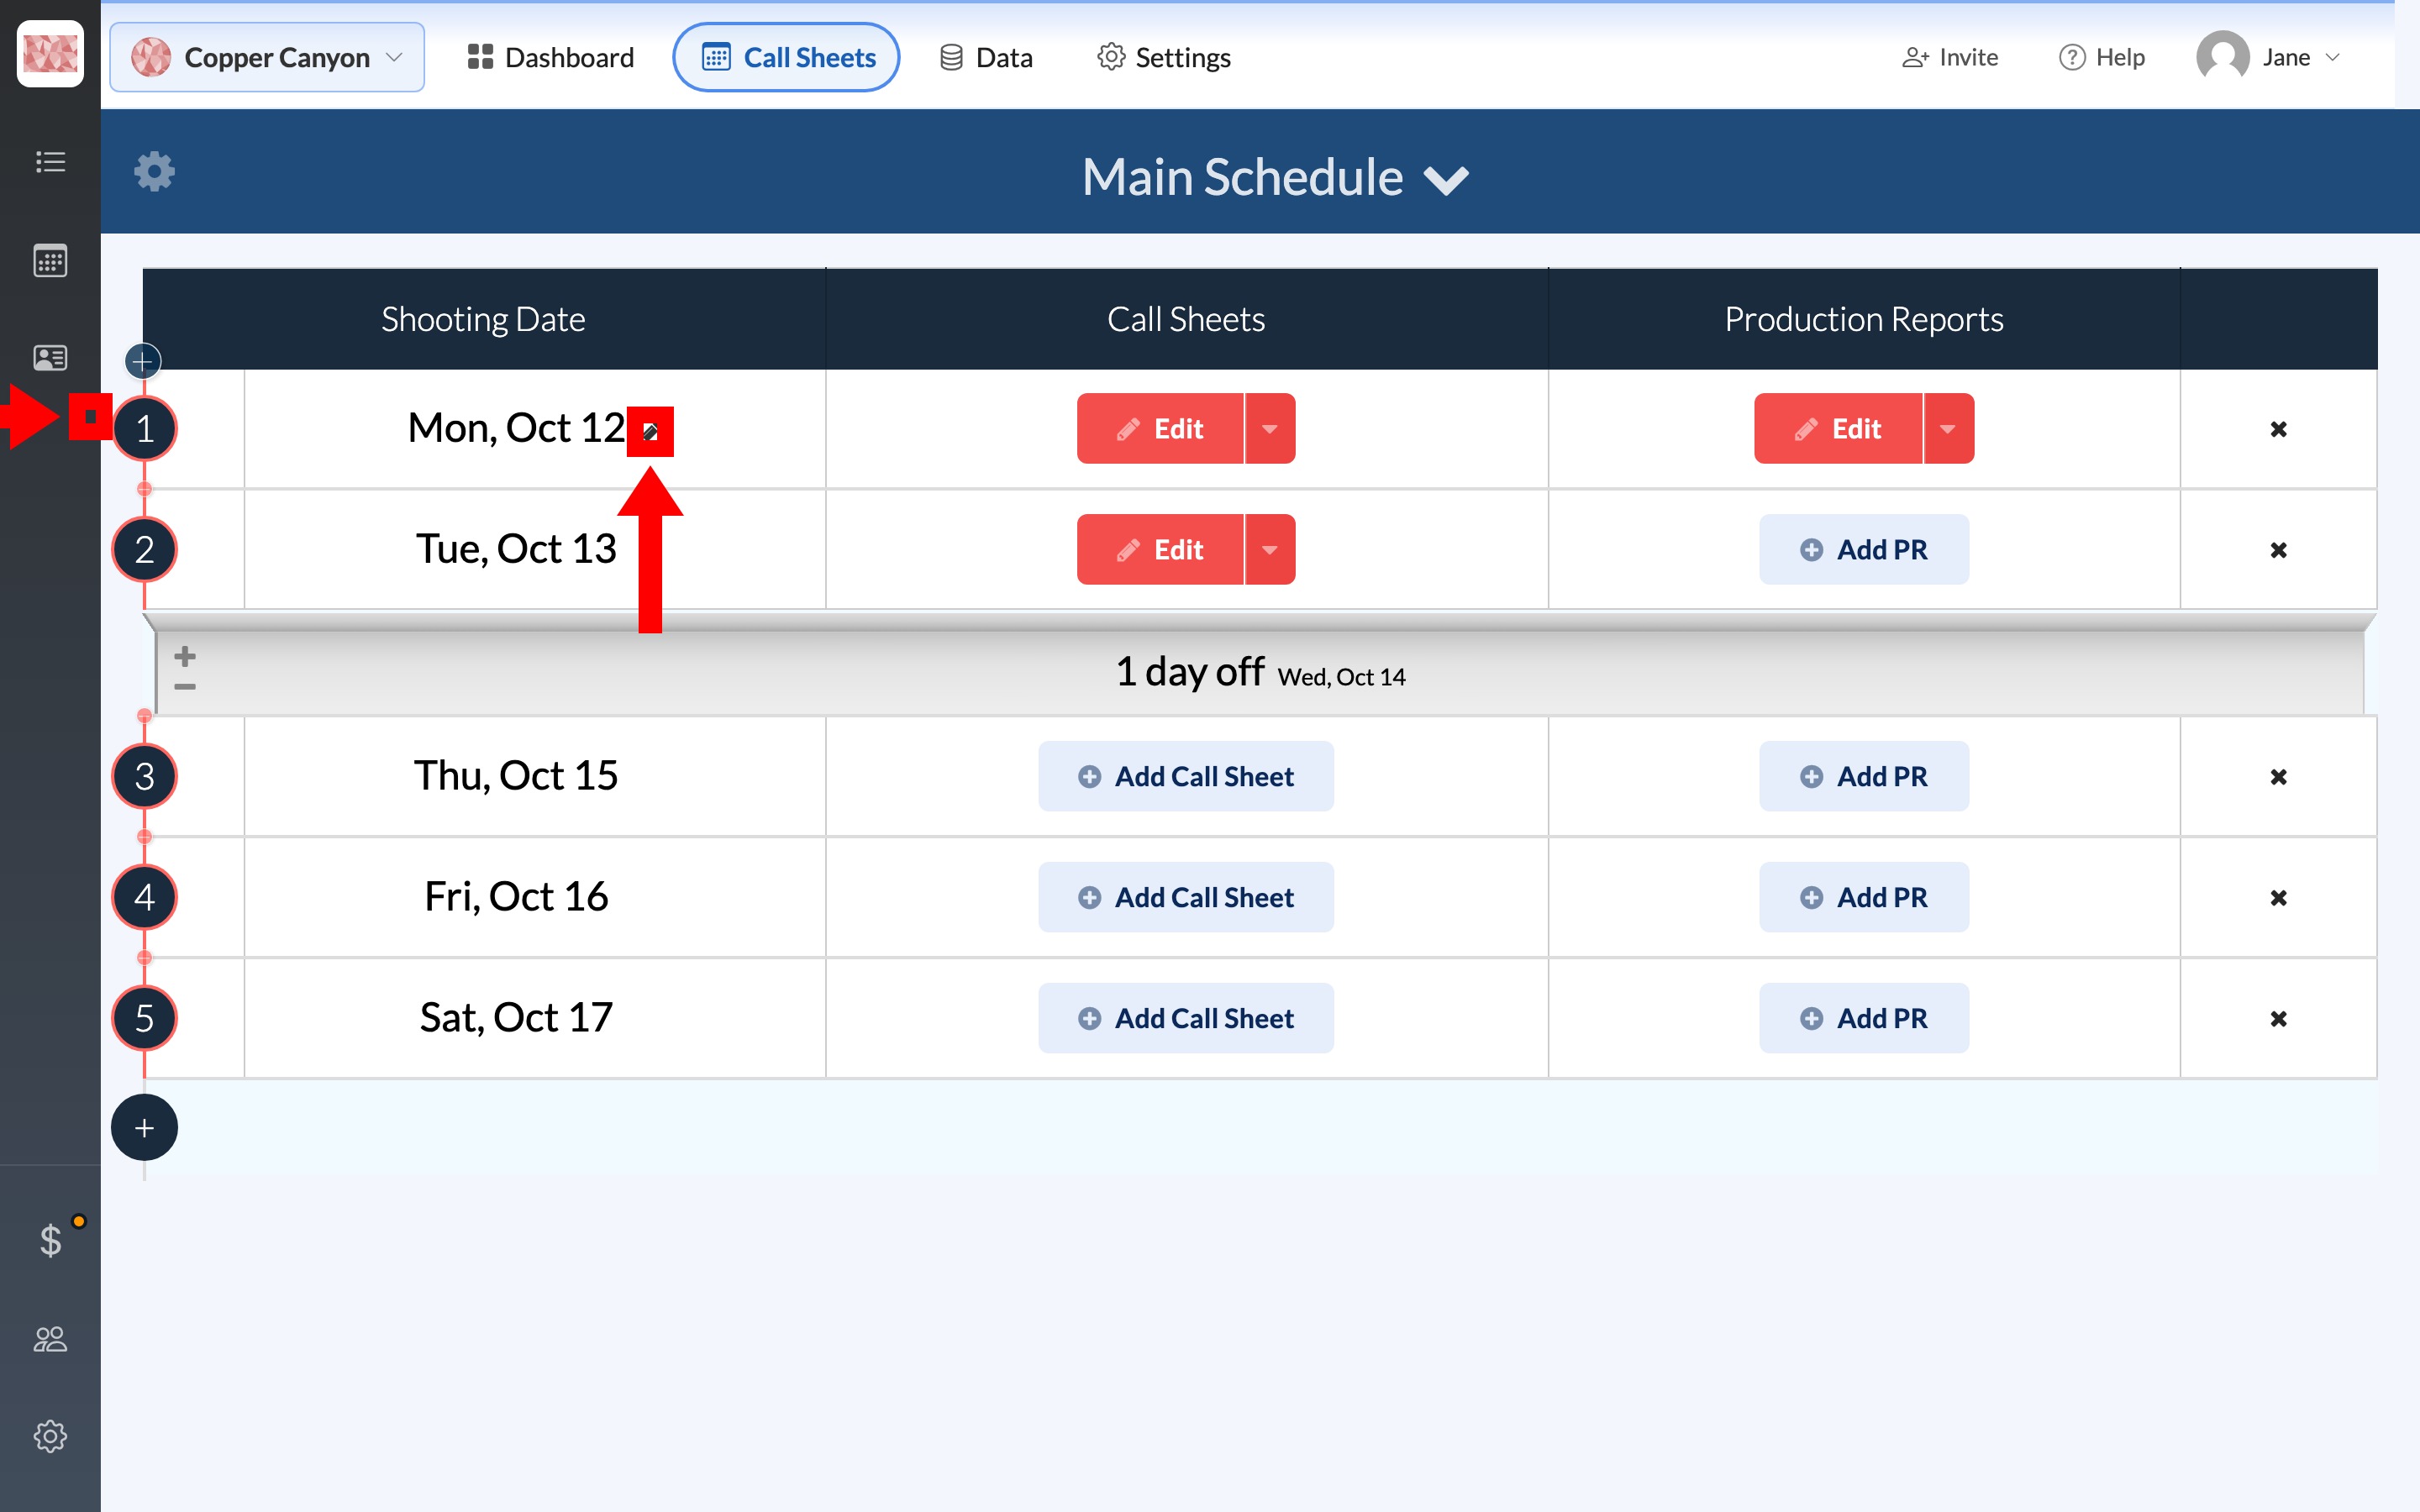
The table columns are Shooting Date, Call Sheets, and Production Reports. Each row is one shoot day. The circle on the left is the day number, and on the first row only, a pencil beside it lets you change where counting starts. Setting the day numbering (Day 3 of 12) explains how that number and the "of" total work together.
The date sits next to the number, with its own pencil to edit it. When later days need to move by the same amount, use a cascade date shift.
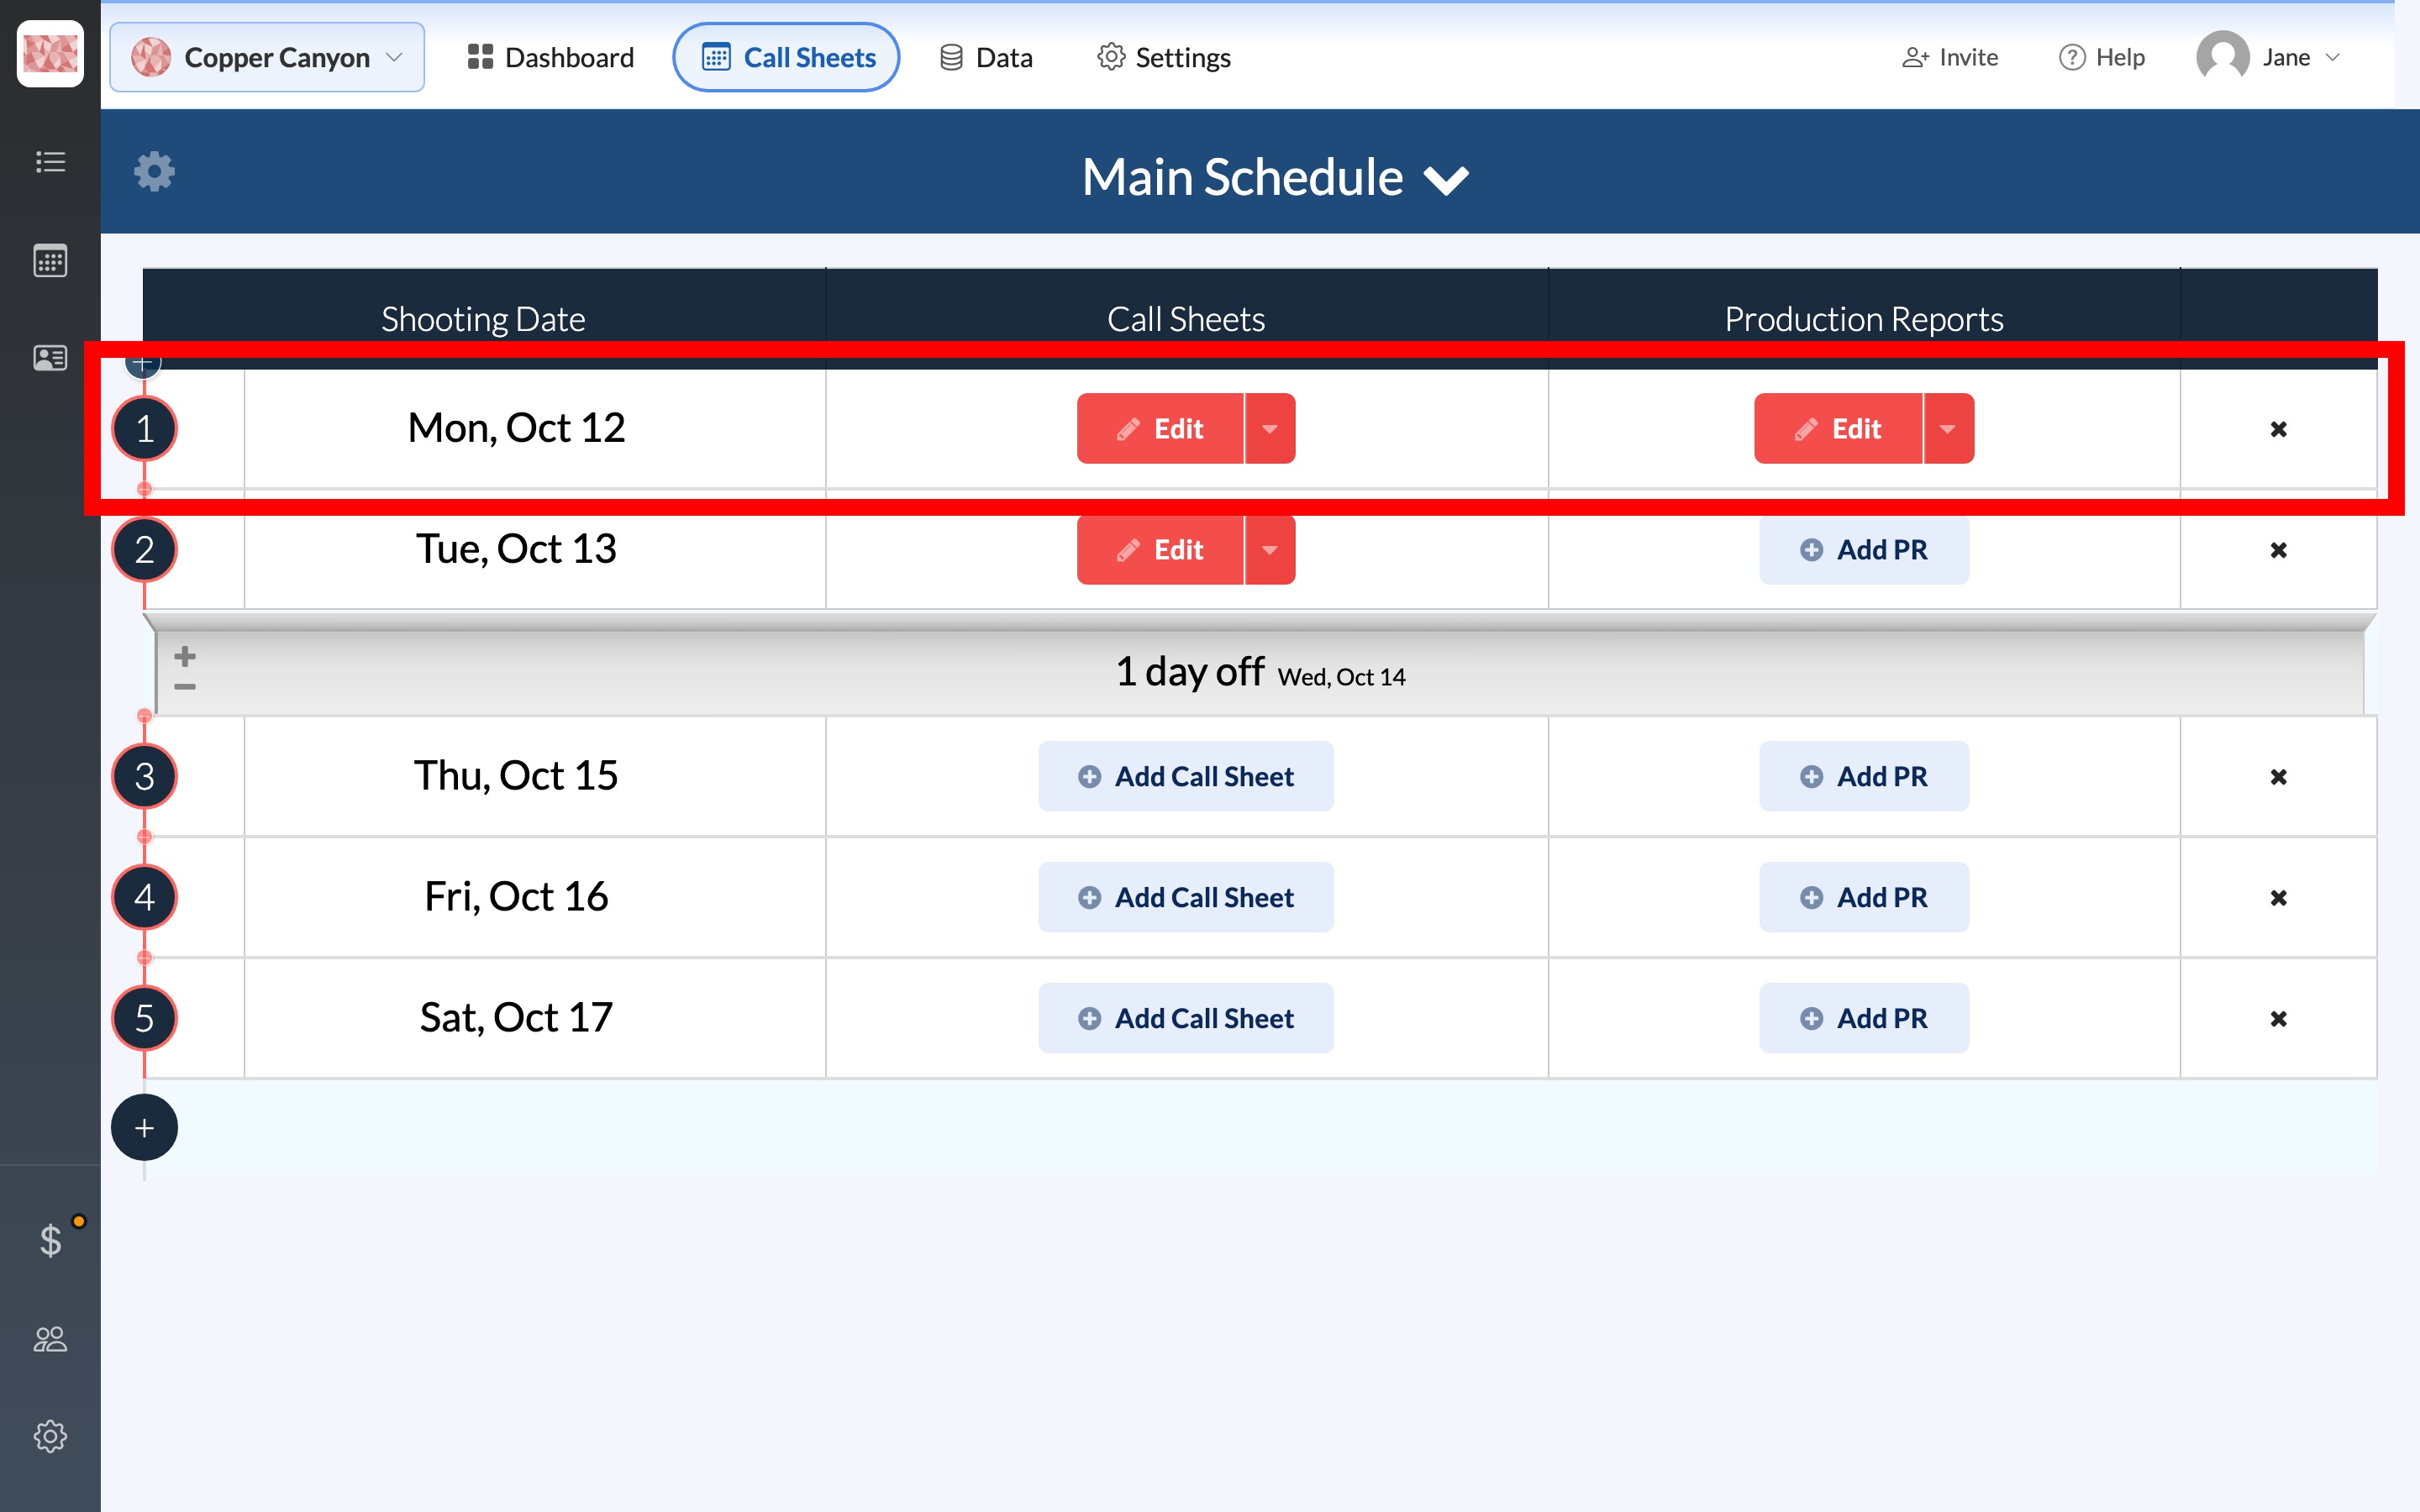
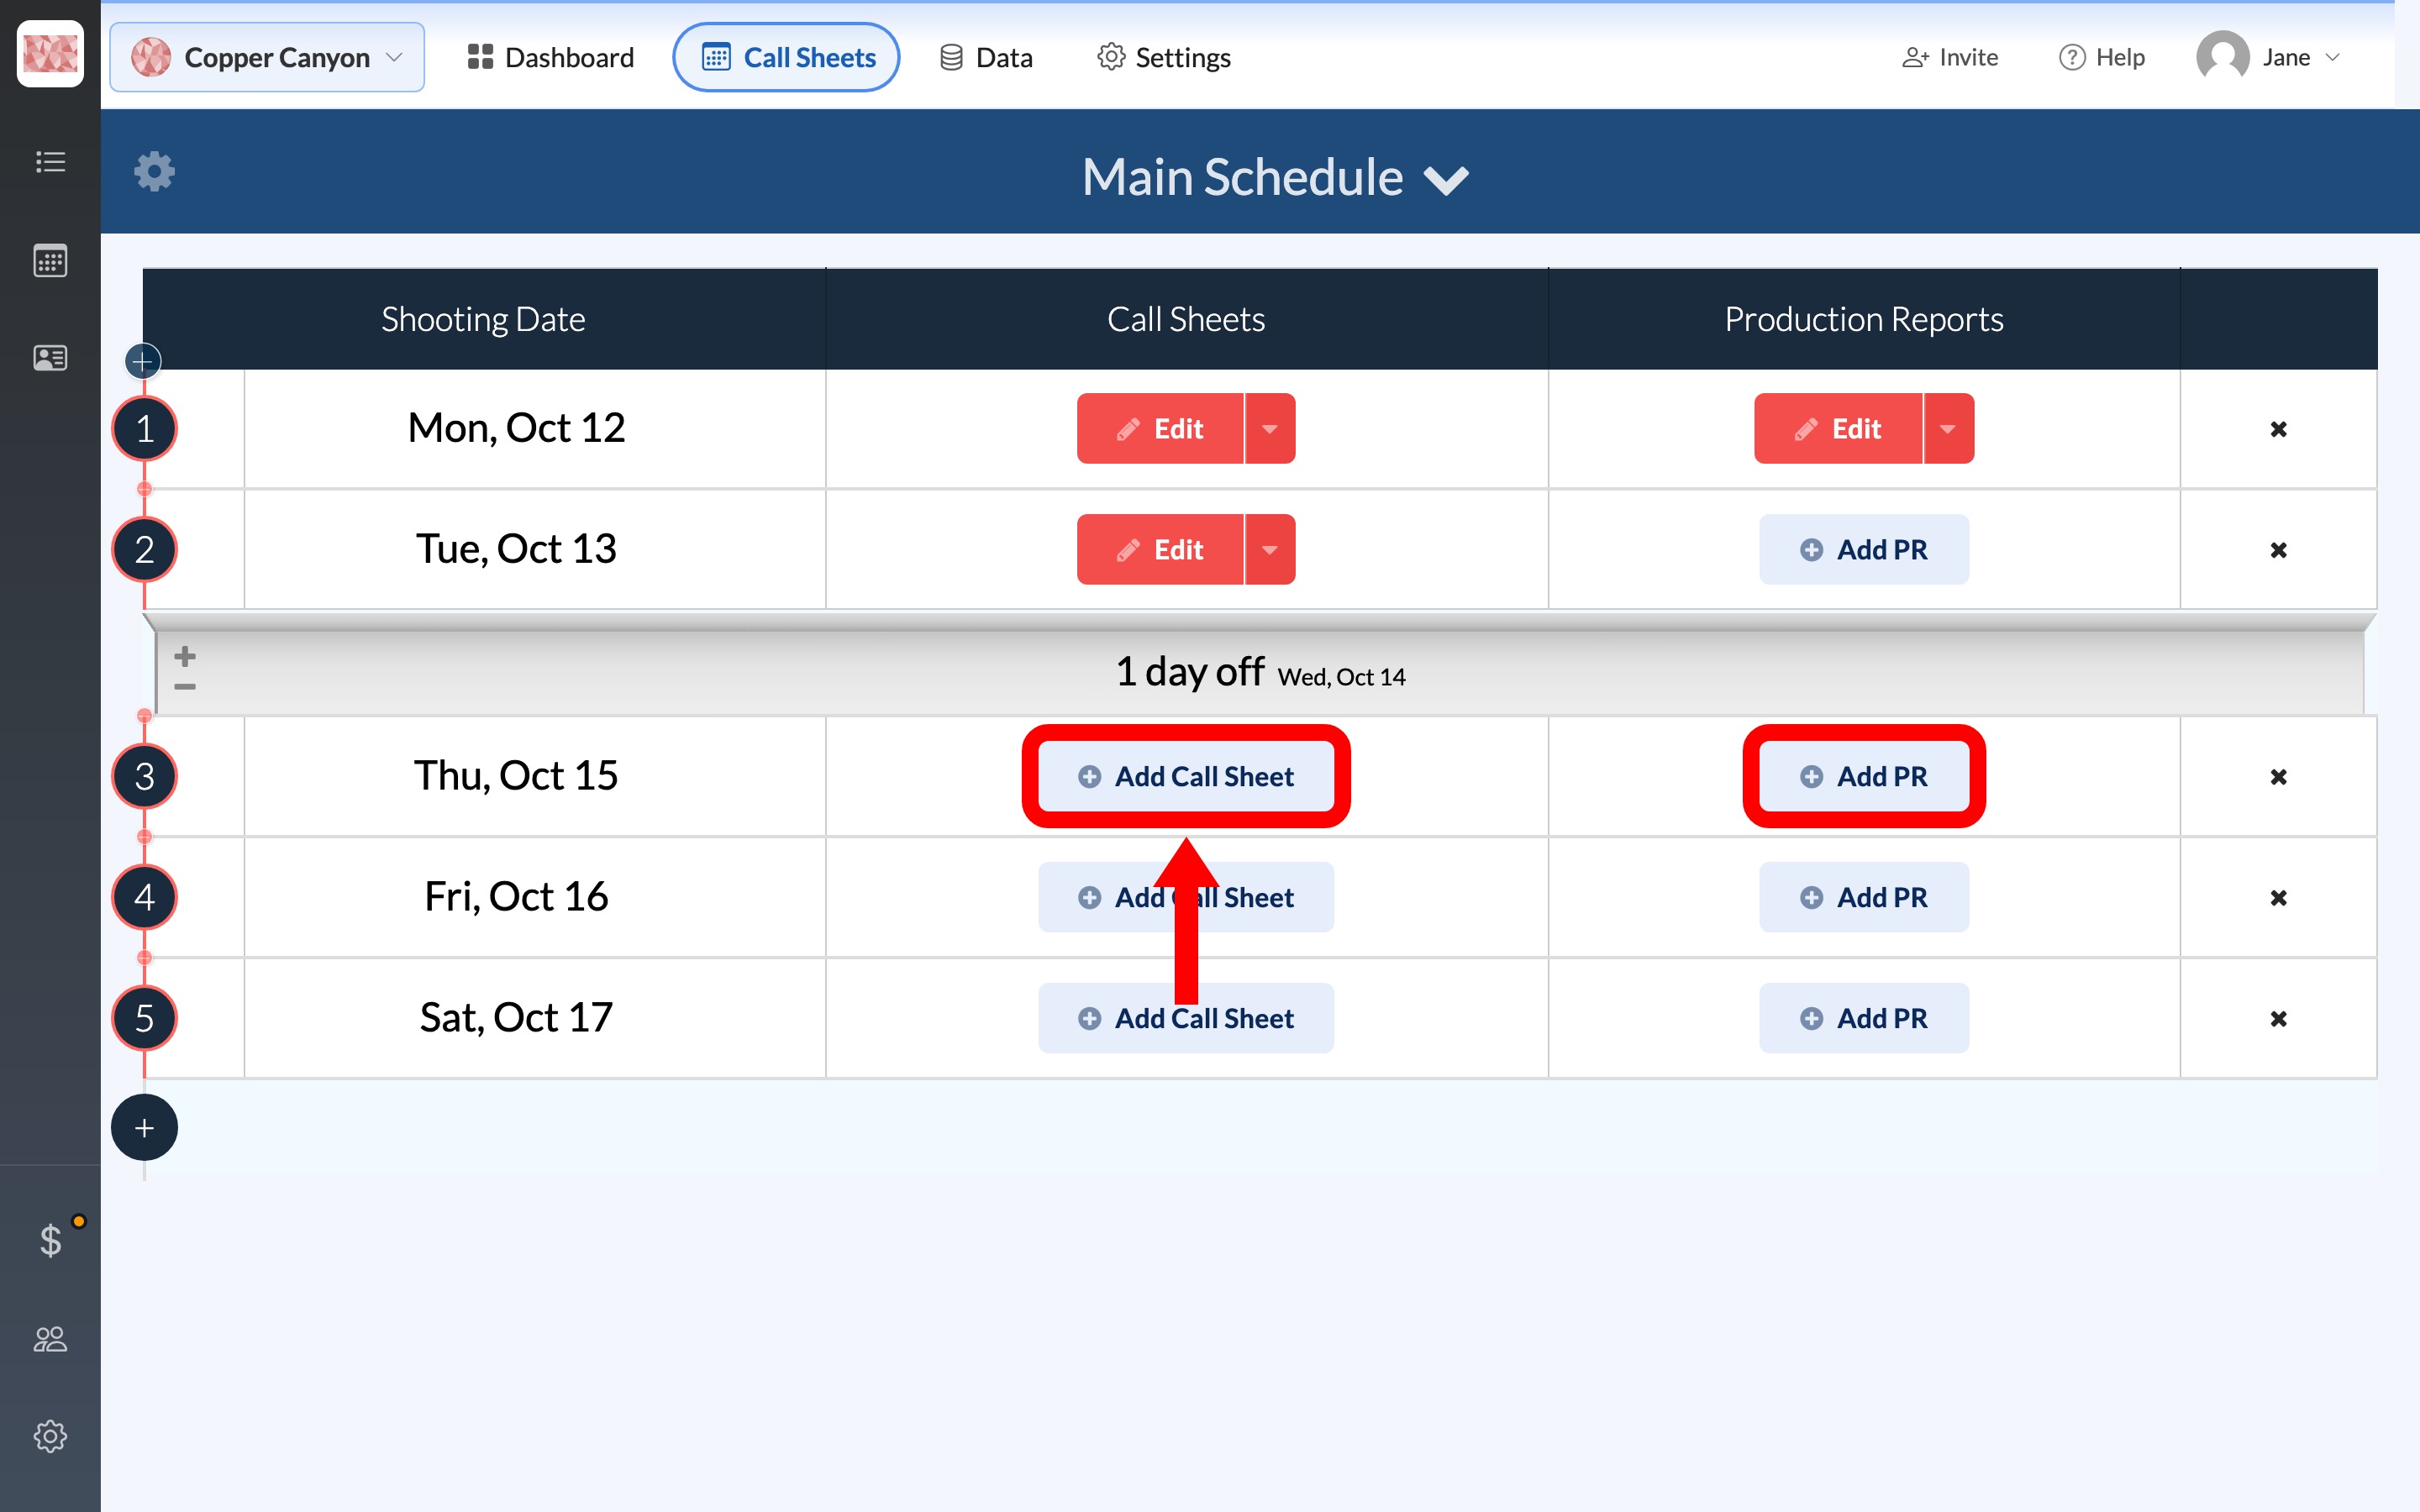
Under Call Sheets, a day shows Add Call Sheet until it has one, then Edit. Production Reports works the same way with Add PR and Edit. A glance down the list shows which dates are covered.
Adding days and off days
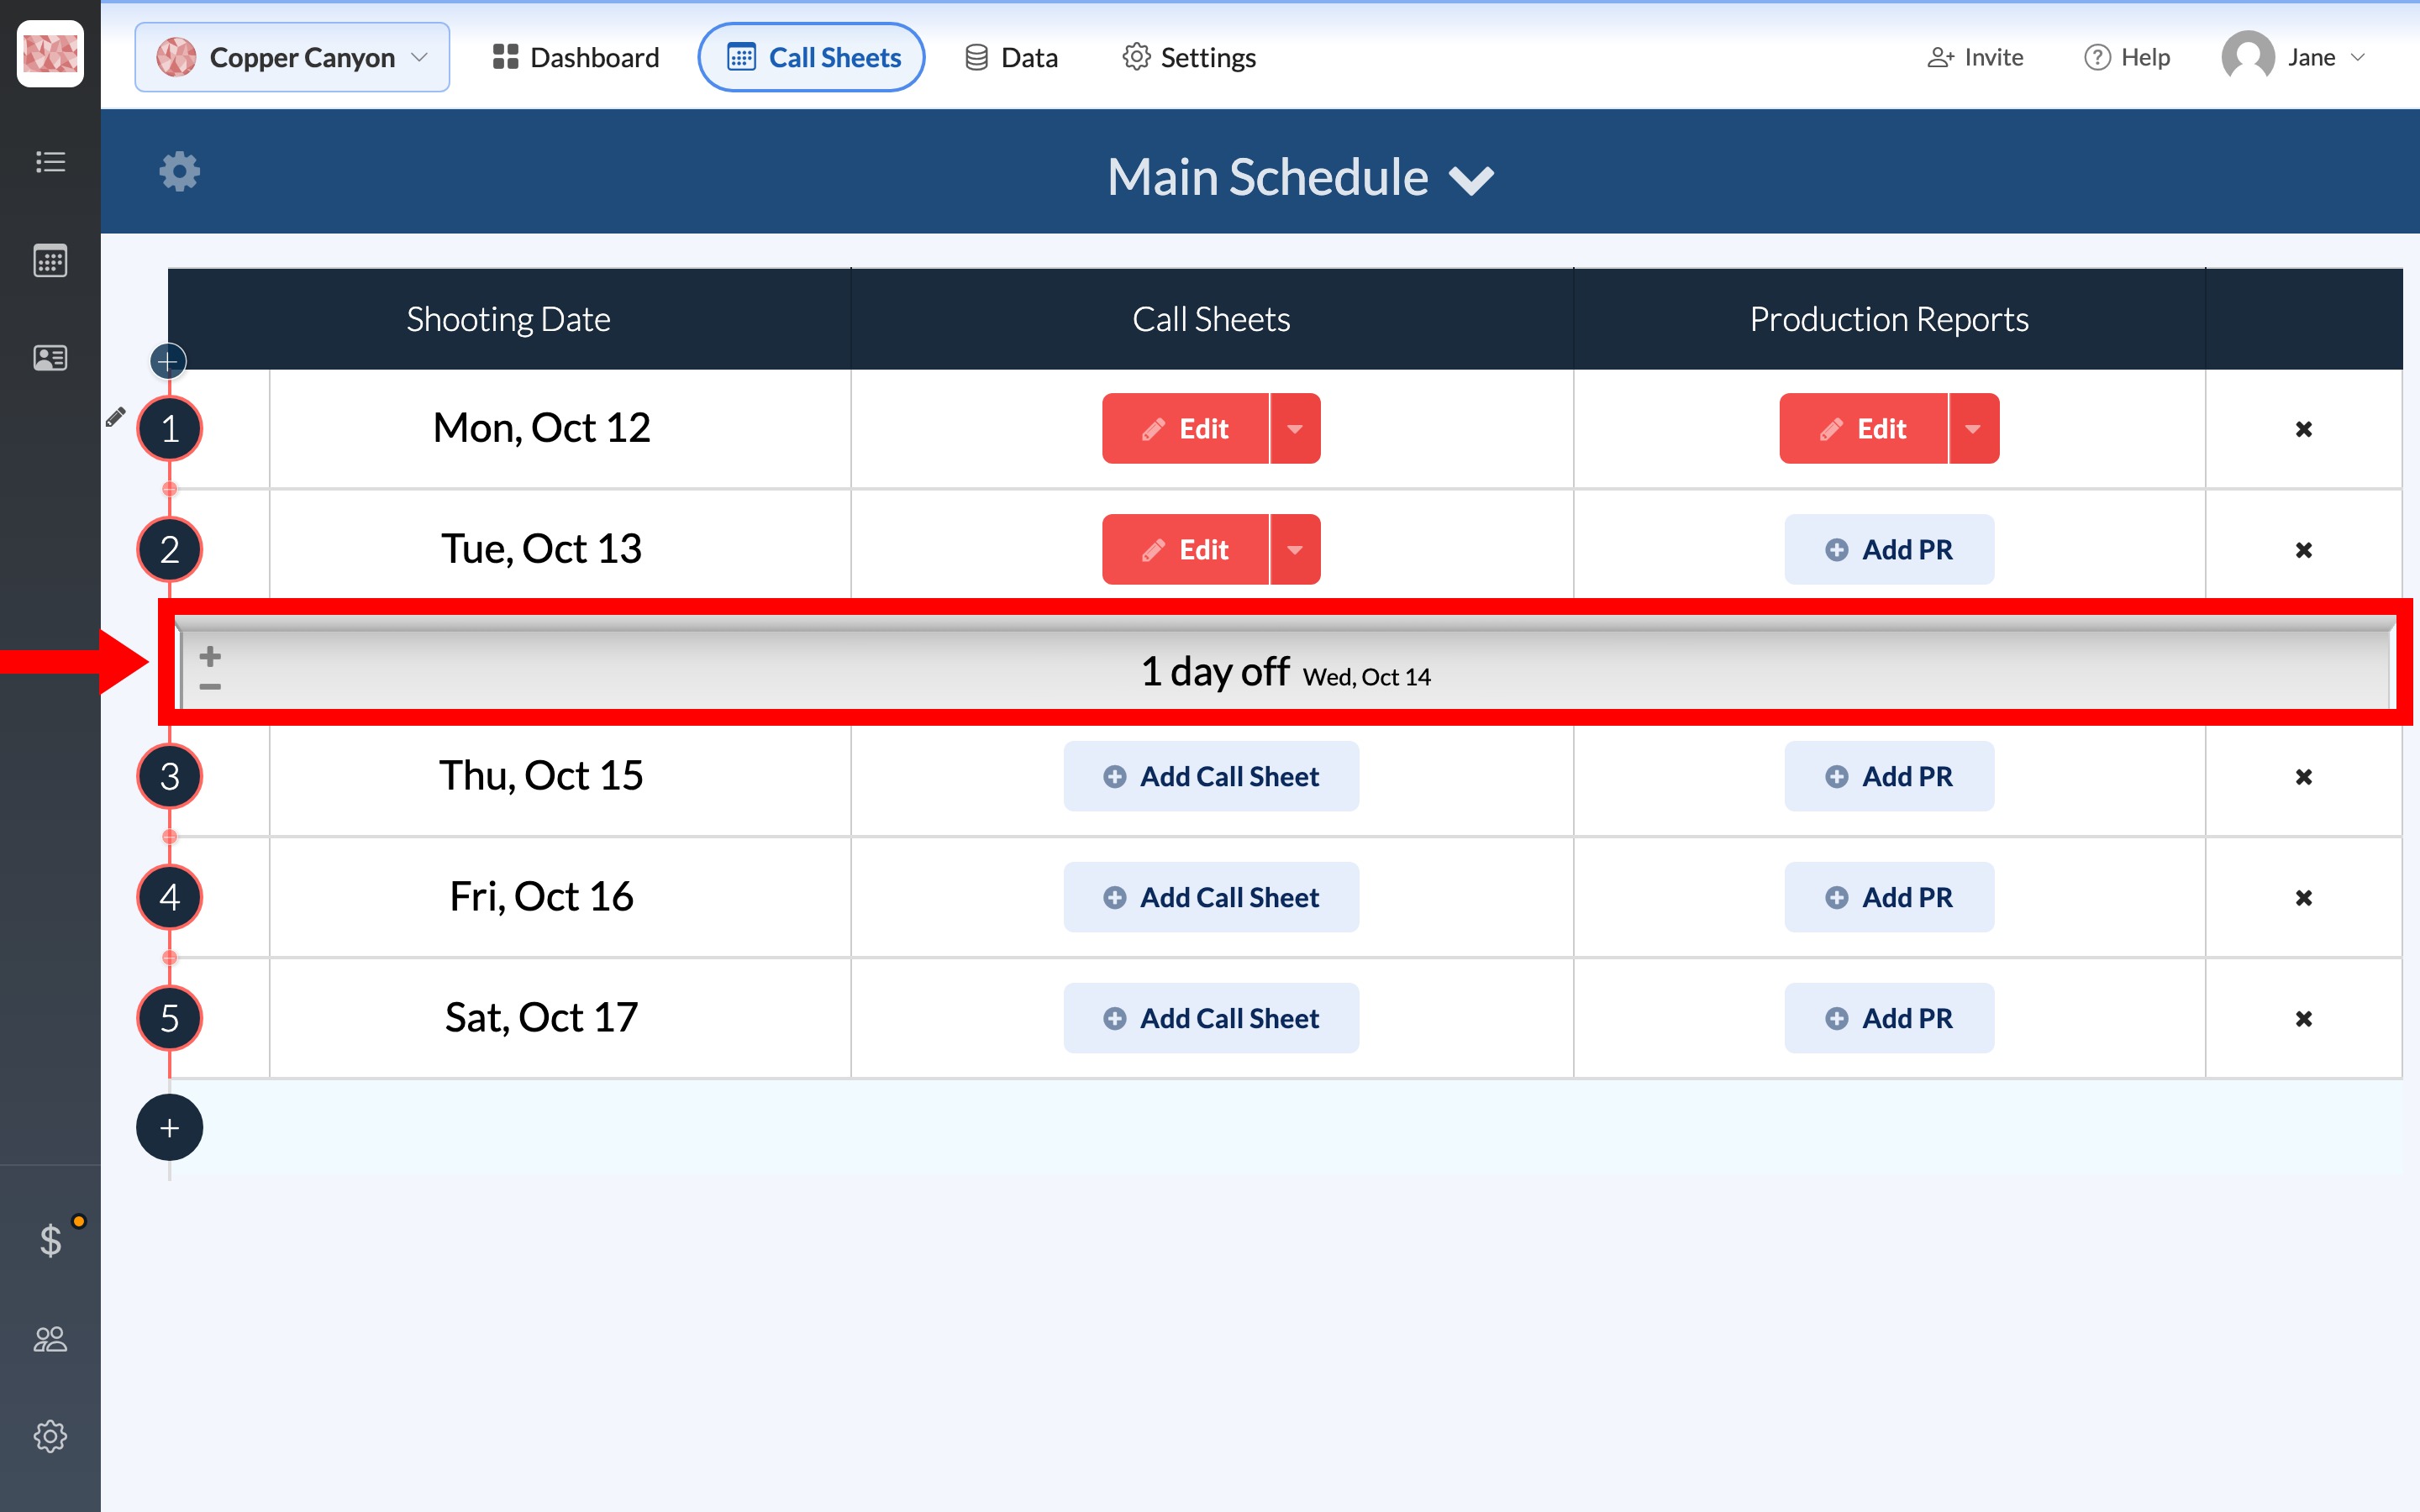
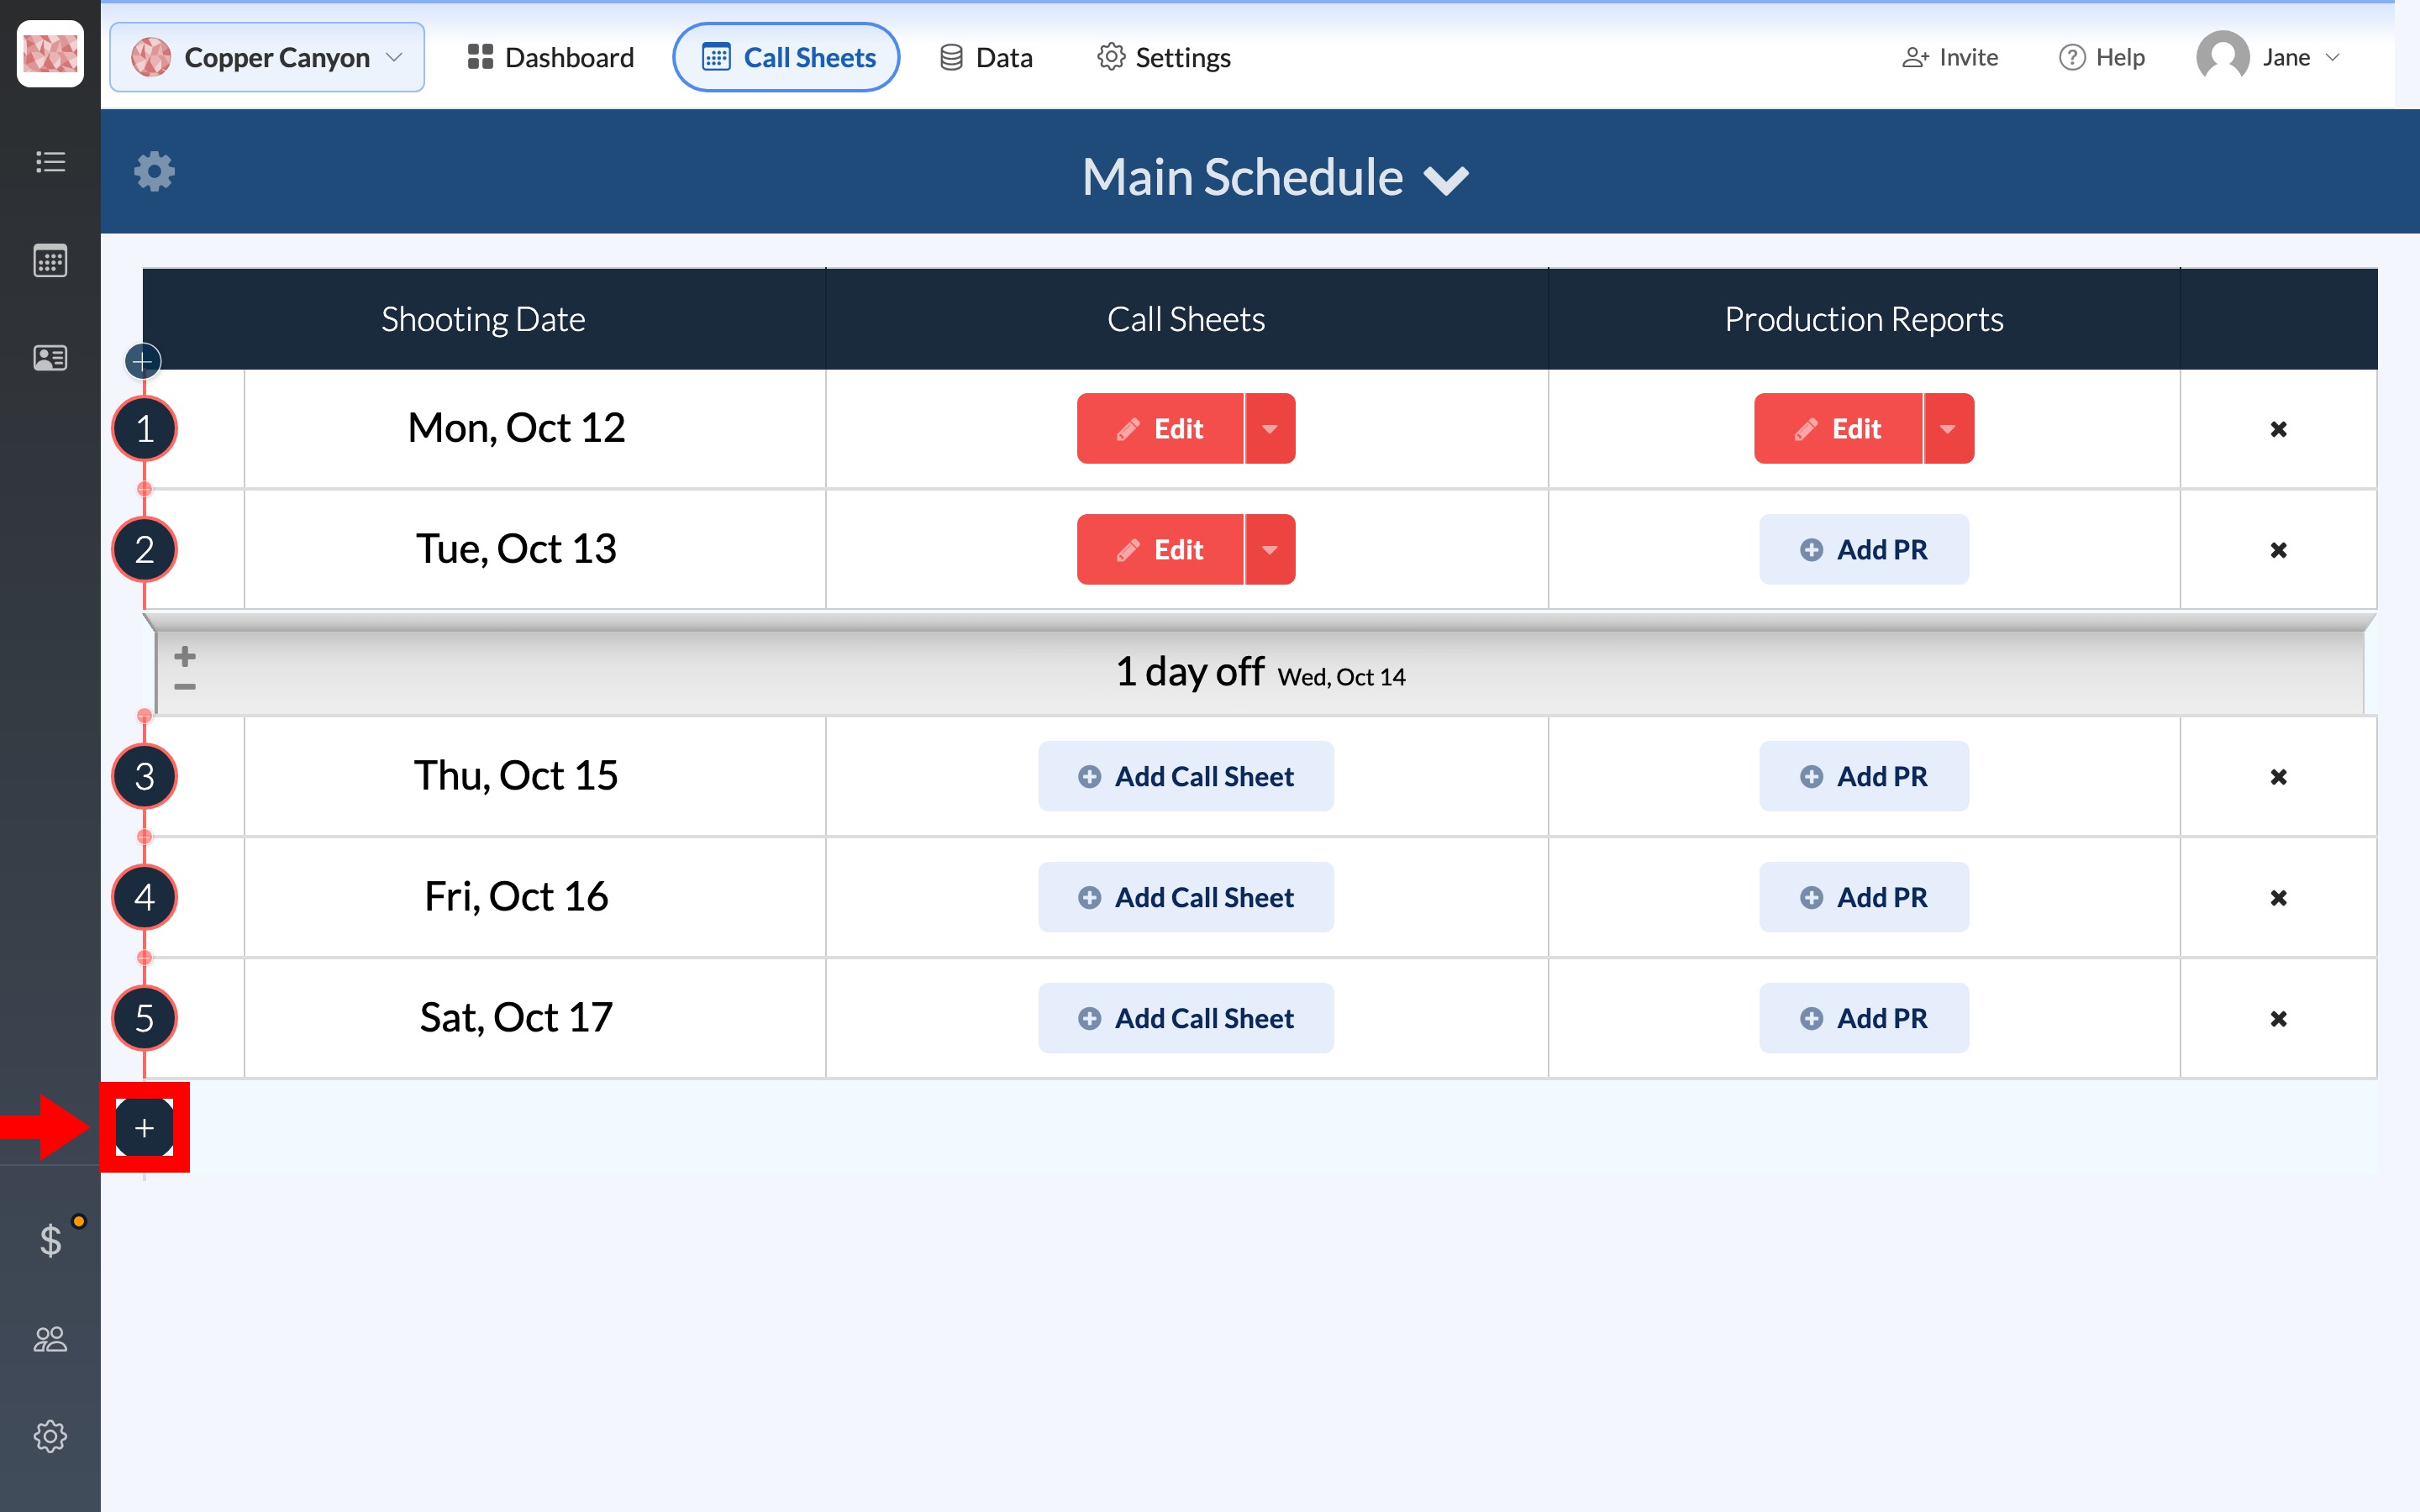
Add a Day under the last row appends another shoot day. Between two dated rows, the plus on the later day inserts an off-day break. The bar that appears shows how many days are off, with plus and minus controls to lengthen or shorten the gap. Adding or editing shooting days has the full steps.
Starting a call sheet or a production report
Add Call Sheet and Add PR appear only while a day has none of that document. Click either to start a draft in the matching editor. From then on, the row shows Edit instead. If you're not sure what a production report records, see What is a production report?.
Publish, copy, or delete a call sheet
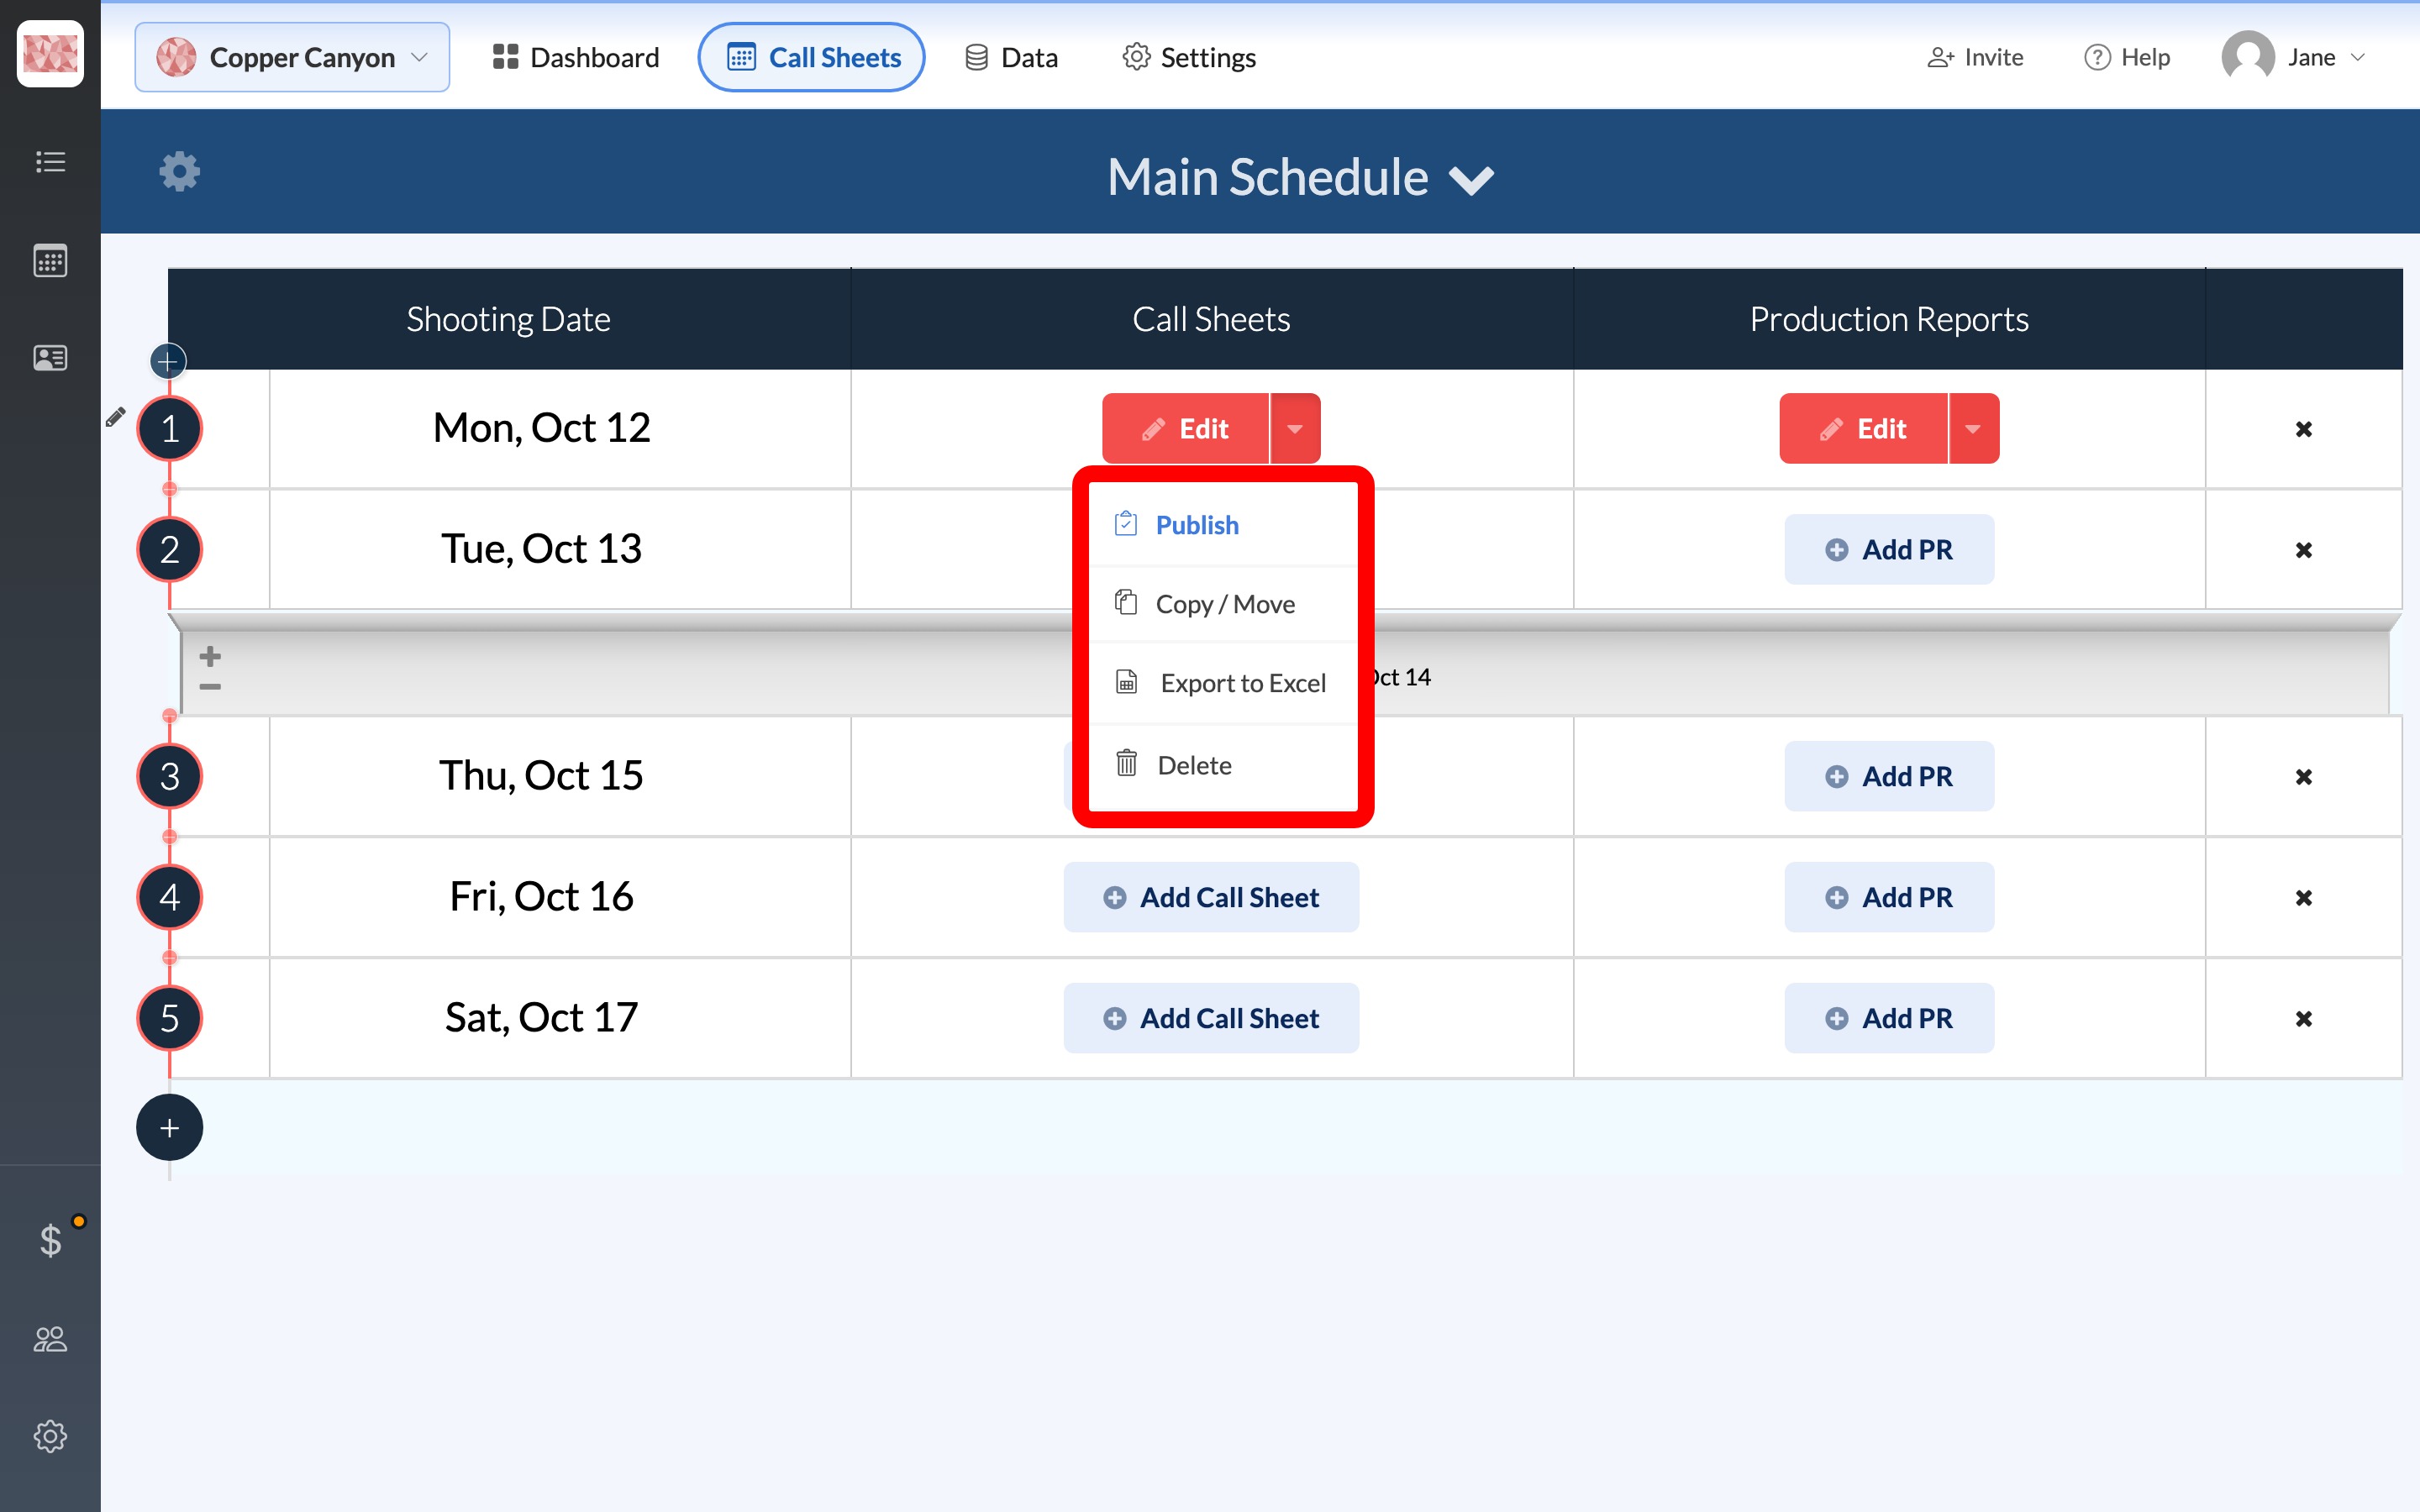
While a call sheet is a draft, the caret beside Edit opens a short menu:
- Publish opens the publisher. Publish and send a call sheet covers the send.
- Copy / Move duplicates the sheet onto another day, or moves it. Copy or move a call sheet to another day walks through copying.
- Export to Excel downloads the sheet as a spreadsheet, when your plan includes that.
- Delete removes the draft, and the row goes back to Add Call Sheet.
Note: After you publish, the row's main button changes to Track Confirmations. The menu shows Revise, View PDF, Copy, Export to Excel, and Delete. Revise opens the editor so you can change the sheet and send an update. See Update or resend a published call sheet.
A production report's Edit button has its own caret menu. Create a production report covers creating one, and Move or delete a production report covers rearranging or removing it.